Tearing down a deck sound tough. It doesn’t have to be. You can take control avoid high labor cost and learn more about your home in the process. A solid plan make the work faster and safer. You just need the right tool basic safety gear and a clear step by step approach.
Doing the job yourself also helps you spot hidden damage. You can see where board have rotted where posts have shifted or where nail no longer hold. That gives you a clean slate for rebuilding or clearing space.
This guide show you what to check how to remove each part and how to handle the leftover mess. You will save time reduce waste and avoid common mistakes.
How to Tell If Your Deck Need Removal
A weak deck can collapse. That makes it unsafe. You need to check for warning signs first.
-
Wood feels soft or crumbles under pressure
-
Boards look twisted or feel loose
-
Posts have cracks or dark stains
-
Railings lean or shift when touched
-
Boards sound hollow underfoot
-
Metal parts look rusty or fail to hold
-
Soil near footings has moved or sunk
One small issue might need a repair. A long list means it’s time to tear down the entire thing.
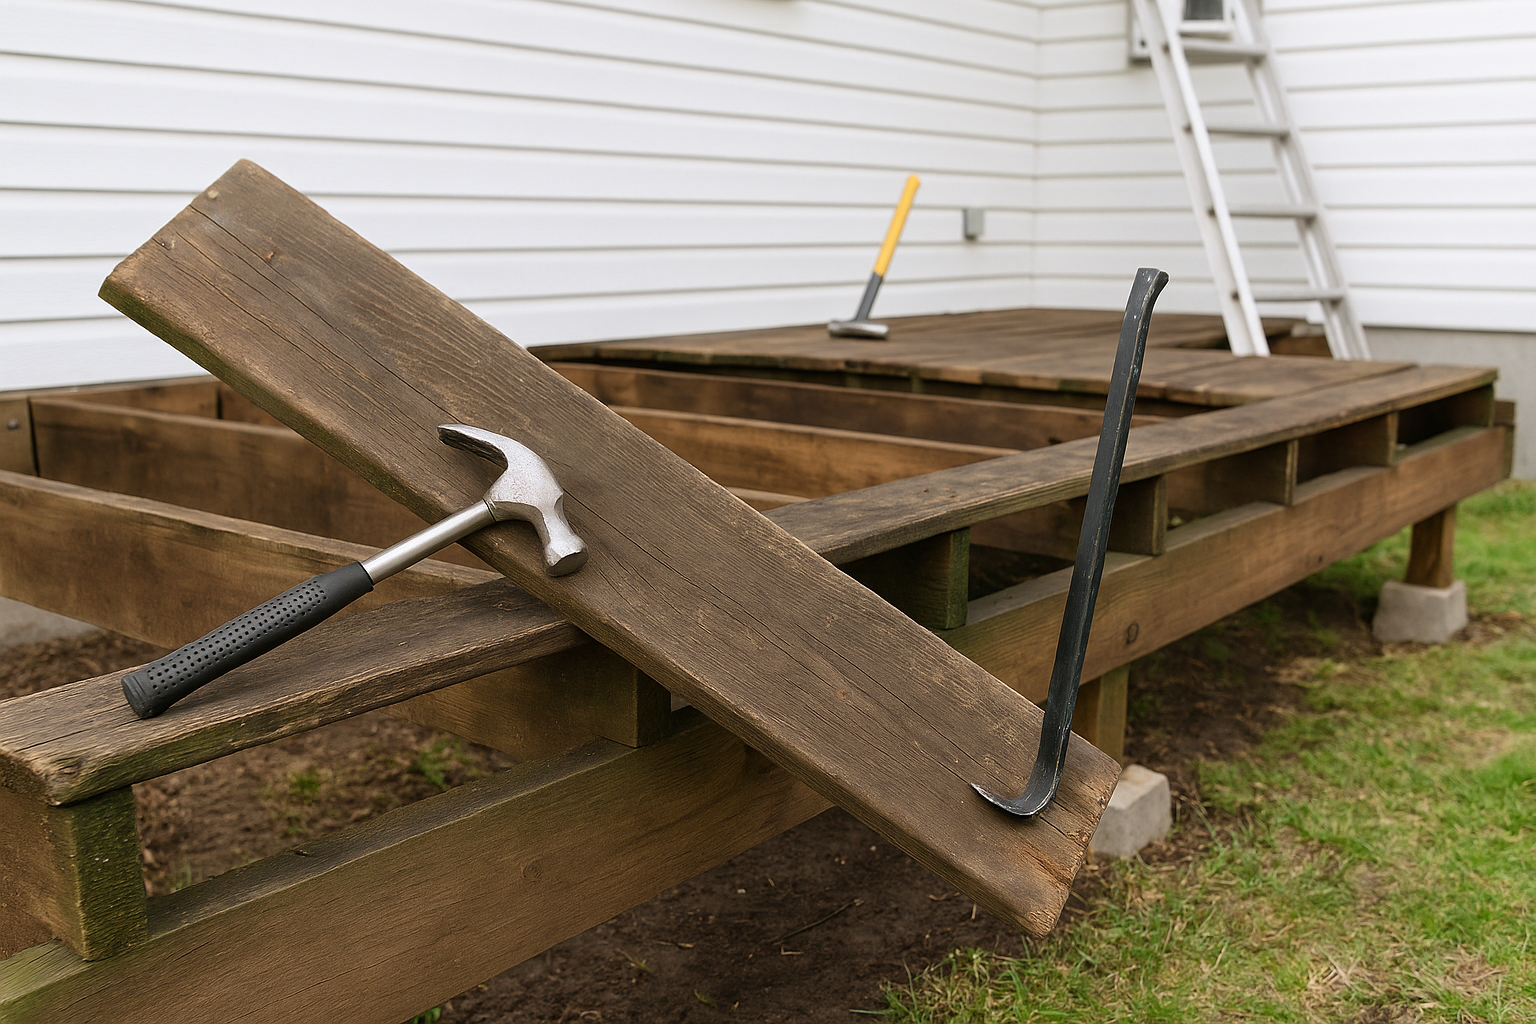
What Safety Gear and Tools You Need
Deck work causes dust sharp edge and falling debris. Safety come first. Use proper gear and tested tools.
Safety Gear
-
Safety glasses protect your eyes
-
Dust mask keeps bad air out
-
Gloves stop cuts and splinters
-
Boots protect your feet
-
Earplugs block loud sounds
-
Hard hat protects from falling pieces
-
Long sleeves stop scratches
Tools
-
Crowbar pulls boards loose
-
Hammer removes nails
-
Drill takes out screws fast
-
Saw cuts through wood and metal
-
Sledgehammer breaks heavy parts
-
Cart moves debris
-
Rope helps carry big pieces
-
Shovel digs around footings
-
Ladder reaches high spots
Inspect each tool before use. Replace anything broken. That keep you safe and make work smoother.
Step by Step Deck Removal
Start slow. Focus on safety. Work in the right order to avoid injury or damage.
Step 1: Remove Railing and Stair
Begin at the top. Use a crowbar or screwdriver to loosen fastener. Take off each railing section first. Then remove the stair rail and tread. Pull out nails or screw as you go. Place all wood in one spot to stay organized. Clear the work area before you move forward. That keeps your path safe and clutter free.
Step 2: Pull Up Decking Board
Move to the deck surface next. Use your tool to lift one board at a time. Pry them up gently to avoid cracking. Remove all fastener as you go. Stack the boards if you plan to reuse them. Watch for sharp nails and splinters. Work from one end to the other for a smooth process.
Step 3: Take Out Joists and Beam
Focus on the main frame now. Start with the outer joists. Then move to the inner one. Use a wrench or crowbar to detach each beam. Do not rush. These part often hold more weight. Ask someone to help when the lumber feel too heavy. Set all pieces aside neatly. That make cleanup easier later.
Step 4: Break and Remove Footing
Handle the footing last. Watch out for buried pipe or wire. Use a sledgehammer to break small concrete block. Rent a jackhammer for bigger ones. Lift and move chunks carefully. Place them in a pile away from the main work area.
How to Deal With the Waste
Deck demo leaves a mess. Sorting it early saves time. Clean as you go to stay safe.
Wood
-
Separate clean wood from treated or painted pieces
-
Reuse or compost clean wood
-
Take treated wood to special disposal site
-
Cut big pieces down to fit in bin
Metal
-
Gather nails, screws, and metal part
-
Drop them off at a scrap yard
-
Keep all hardware separate from other waste
Concrete
-
Break concrete into small chunk
-
Take them to a building waste site
-
Follow city rule for dumping
Other Waste
-
Sort plastic and non wood part
-
Handle old paint flake with care
-
Ask your local recycling center how to toss mixed materials
Why You Should Rent a Dumpster
Tearing down a deck creates more waste than most people expect. Piles of old boards, rusty nails, broken metal brackets, and chunks of concrete build up fast. Leaving this mess around slows your progress and raises the risk of injury.
A rented dumpster makes cleanup simple. You can toss everything in one place right away. That keeps your work area clear and easy to move through. You don’t waste time moving piles back and forth. You also avoid accidents from stepping on nails or tripping over wood.
Most rental companies offer dumpsters in different sizes. Pick one that fits your project. A small deck might only need a 10-yard bin. A larger deck may need 20 yards or more. Ask the company what size works best for your materials.
Decks often include pressure-treated wood, paint chips, and concrete. These materials don’t go in regular trash bins. Many cities have strict rules for where and how you can dispose of them. Ask the rental company what you can throw away. They will guide you on what’s allowed and what needs special handling.
Renting a dumpster also helps you finish faster. You won’t need to haul truckloads to the dump. You won’t need to sort everything later. One bin holds most of your debris, and the company picks it up when you’re done.
A messy job become much easier with the right bin. A rented dumpster save time avoid fine and help you stay focused on finishing the work.
Final Tip
DIY deck removal works best when you follow a clear plan. Don’t rush into it. Start by checking the deck for damage. Look at the board railing post and footings.
Use glove eye protection and sturdy boot. Add a dust mask and hard hat if needed. Your safety come first on every job.
Pick tool that are in good shape. A dull saw or broken drill can slow you down and cause injuries. Check everything before you begin. Replace any weak part or dead batteries.
Keep your work area clean. Move debris out of the way as you go. That keep your path clear and lower the risk of tripping. A clean site also make the final cleanup easier.
Sort the waste into wood metal and concrete. Follow your city rule for each type. That save time and avoid dumping mistake.
Finishing the job feel good when you stay safe work smart and clean up right. Plan ahead take your time and stick to each step. That how you complete a deck removal without stress or surprise.